How to Ensure Multiple Data Backups – the 1-2-3 of Setting up the Bloodhound on a New Well
When you begin a new well with the Bloodhound you may have an entirely new Bloodhound unit, or more likely, one that was deployed on a well prior to this one. This is the checklist of high-level TODO items when setting up the Bloodhound instrument for a new well.
PREREQUISITES:
You need access to all pertinent software, whether by pre-install on the PC, access to the Internet, or installation media (disk, USB jump drive, etc.). Software required are:
a) The iBall USB Drivers for the Bloodhound Instrument
b) iBall Gas Chart
c) OPTIONAL: Real-Time Data Viewer (RTDV) with administrative rights on the Bloodhound.
d) ASSUMPTION: This Bloodhound’s sample line, etc. are rigged up properly, and your
WITS system (if applicable) is setup and functional.
HOW-TO:
When beginning a new well, make sure you do the following:
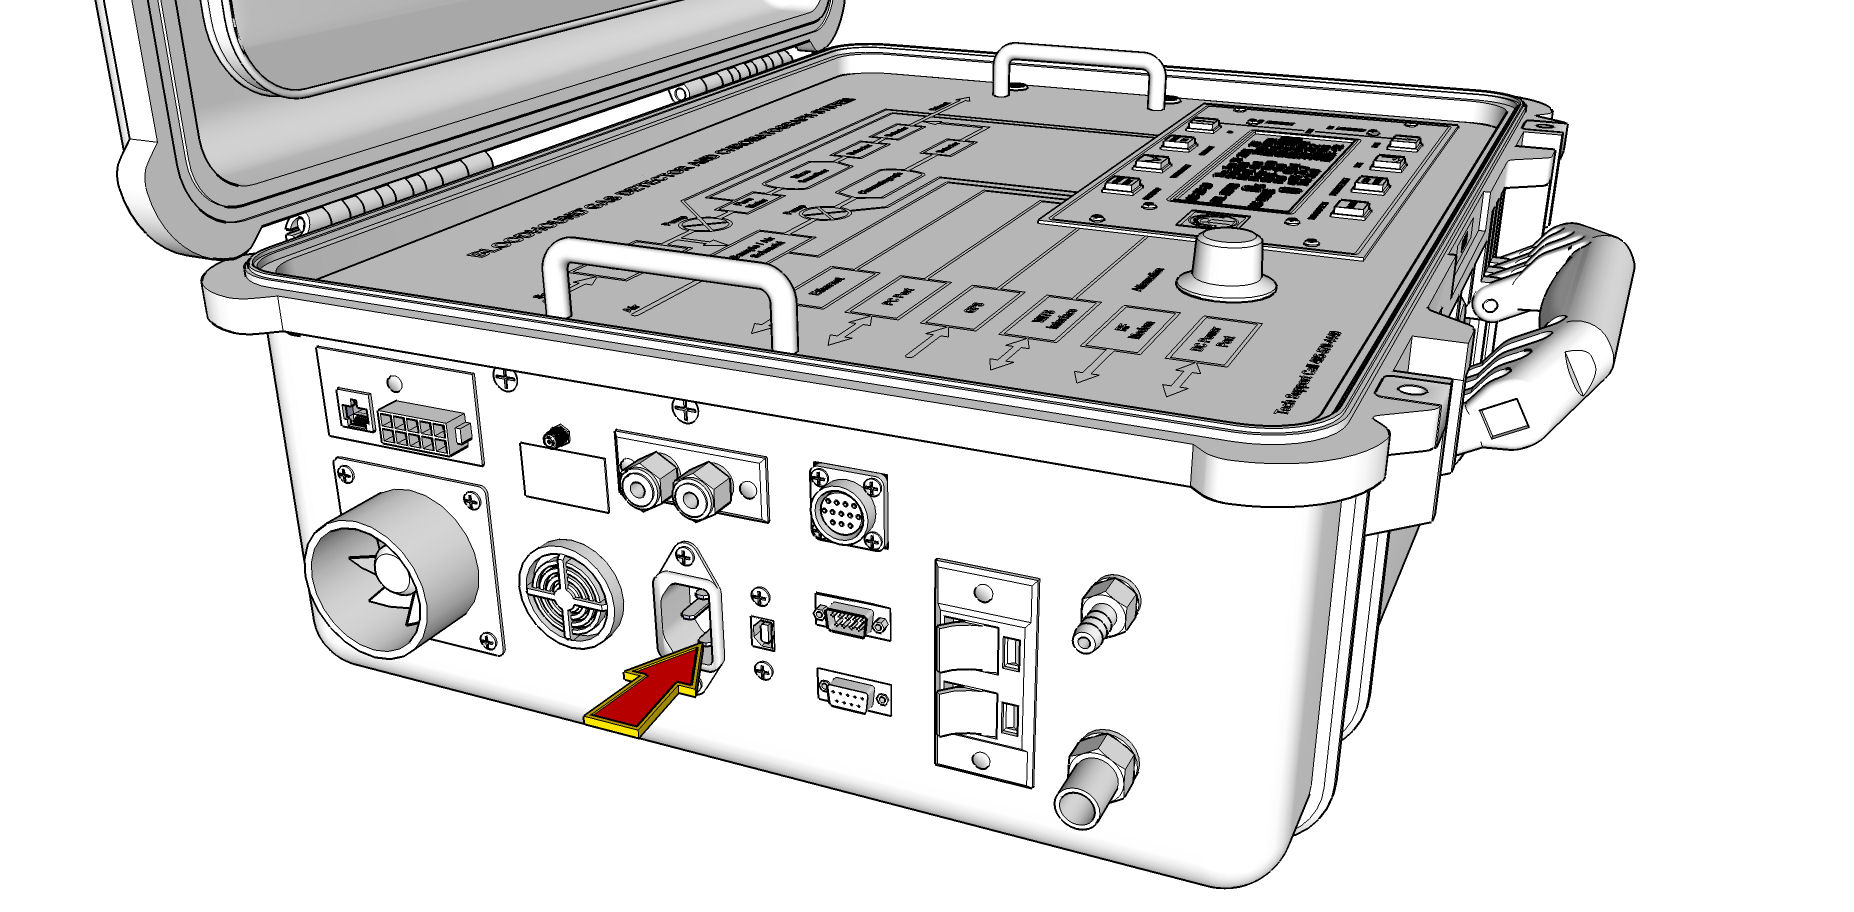
1) Power up the Bloodhound Instrument by plugging in the power cord to a standard outlet, and connecting it to the Bloodhound’s external Power Port.
 2) Set the depth at 100 feet (or if using a WITS system, within 100 above the current depth being fed by WITS).
3) Increment the Job Number.
4) Power up the PC.
5) Ensure the USB Drivers are installed or install the USB drivers from scratch.
6) Ensure that Gas Chart is Installed on the PC, or go through the process of Installing Gas Chart from scratch.
7) Ensure Bloodhound is connected via USB to PC “from the bloodhound to your PC”.
8) Start up Gas Chart either by double-clicking the icon on the desktop, or by going through the start menu.
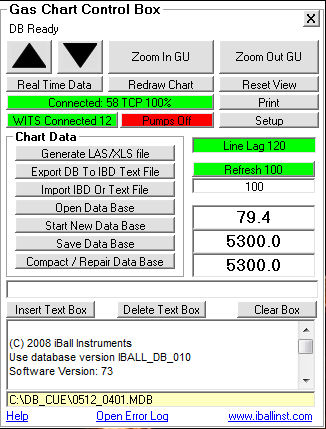
9) If the “Gas Chart Control Box” is not displayed, right-click on Gas Chart page to bring it up.
10) RECOMMENDED: Ensure you are getting WITS Data by looking for the “WITS OK” status in the lower-right-hand cornder in the Bloodhound Instrument’s display.
11) Start a new Database by clicking on the “Start a new Database” button in the Gas Chart Control Box.

12) If the third button down on the Gas Chart Control Box reads “Bloodhound Forced Off”, click this to turn on the Bloodhound Connection and connect Gas Chart to the Bloodhound Instrument.
13) Ensure that you are receiving all pertinent data.
CONGRATULATIONS! You have setup the bloodhound unit for a new well!