This article specifically addresses where one connects the Sample Inlet, and where the Exhaust should be plumbed on the Bloodhound.
PREREQUSITES:
There are no prerequisites for this article.
GENERAL INFORMATION:
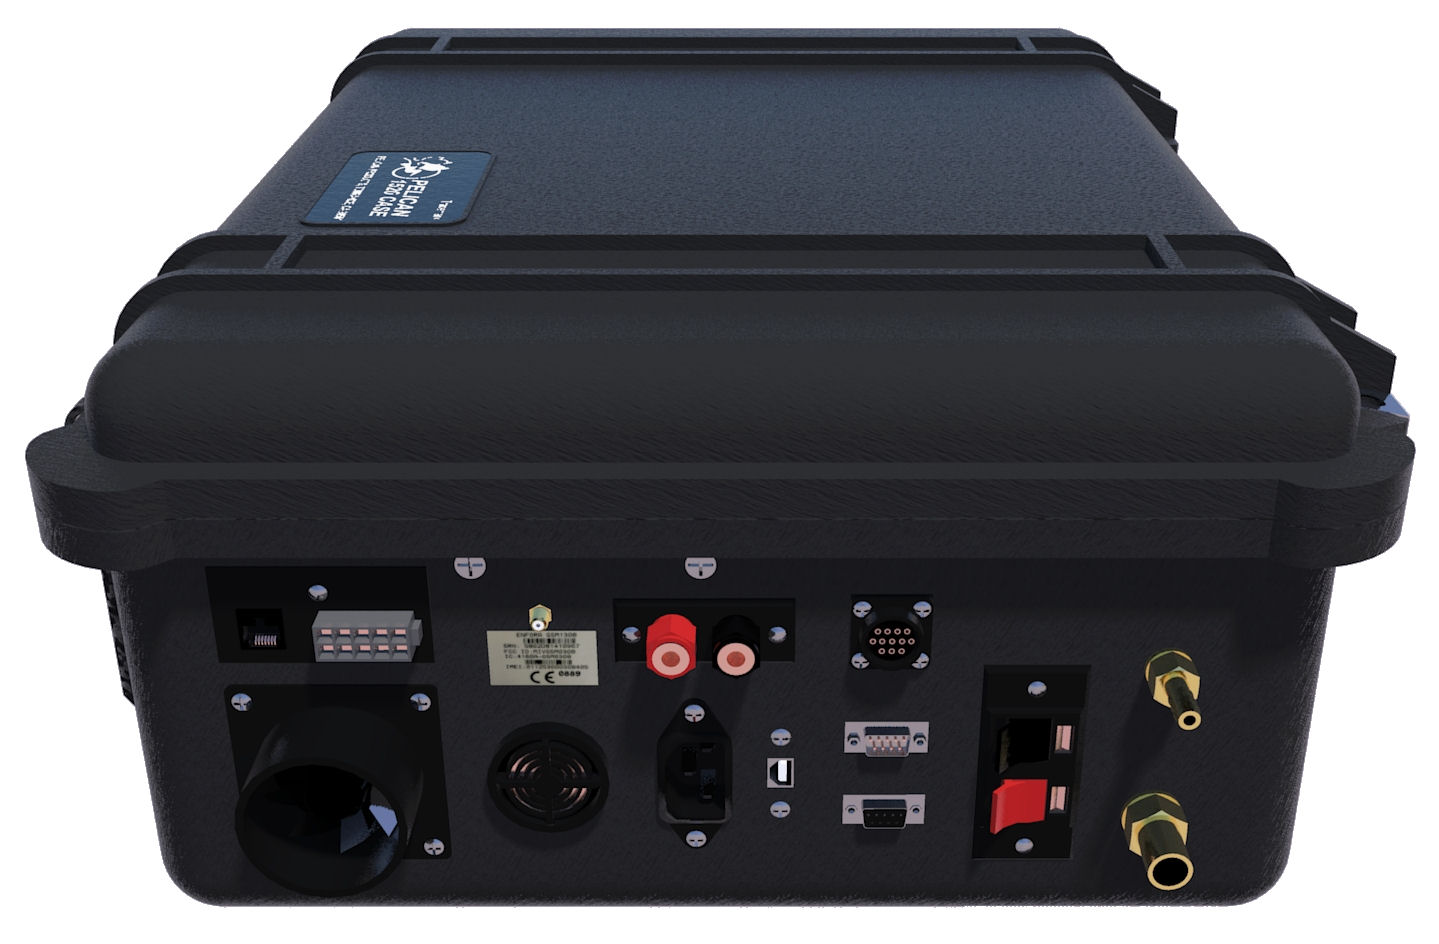
1) Take a look at the left hand side of the Bloodhound where all of the connections are located (see the figure below for what this looks like):

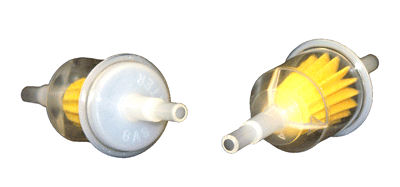
2) FIND THE SAMPLE INLET FILTER: First, make sure you have the Sample inlet filter in place. This filter represents the absolute least of protection to the Bloodhound and it definitely needs to be in place. The filter looks something like the image below and it should be the last device on your gas line inlet before the Bloodhound:

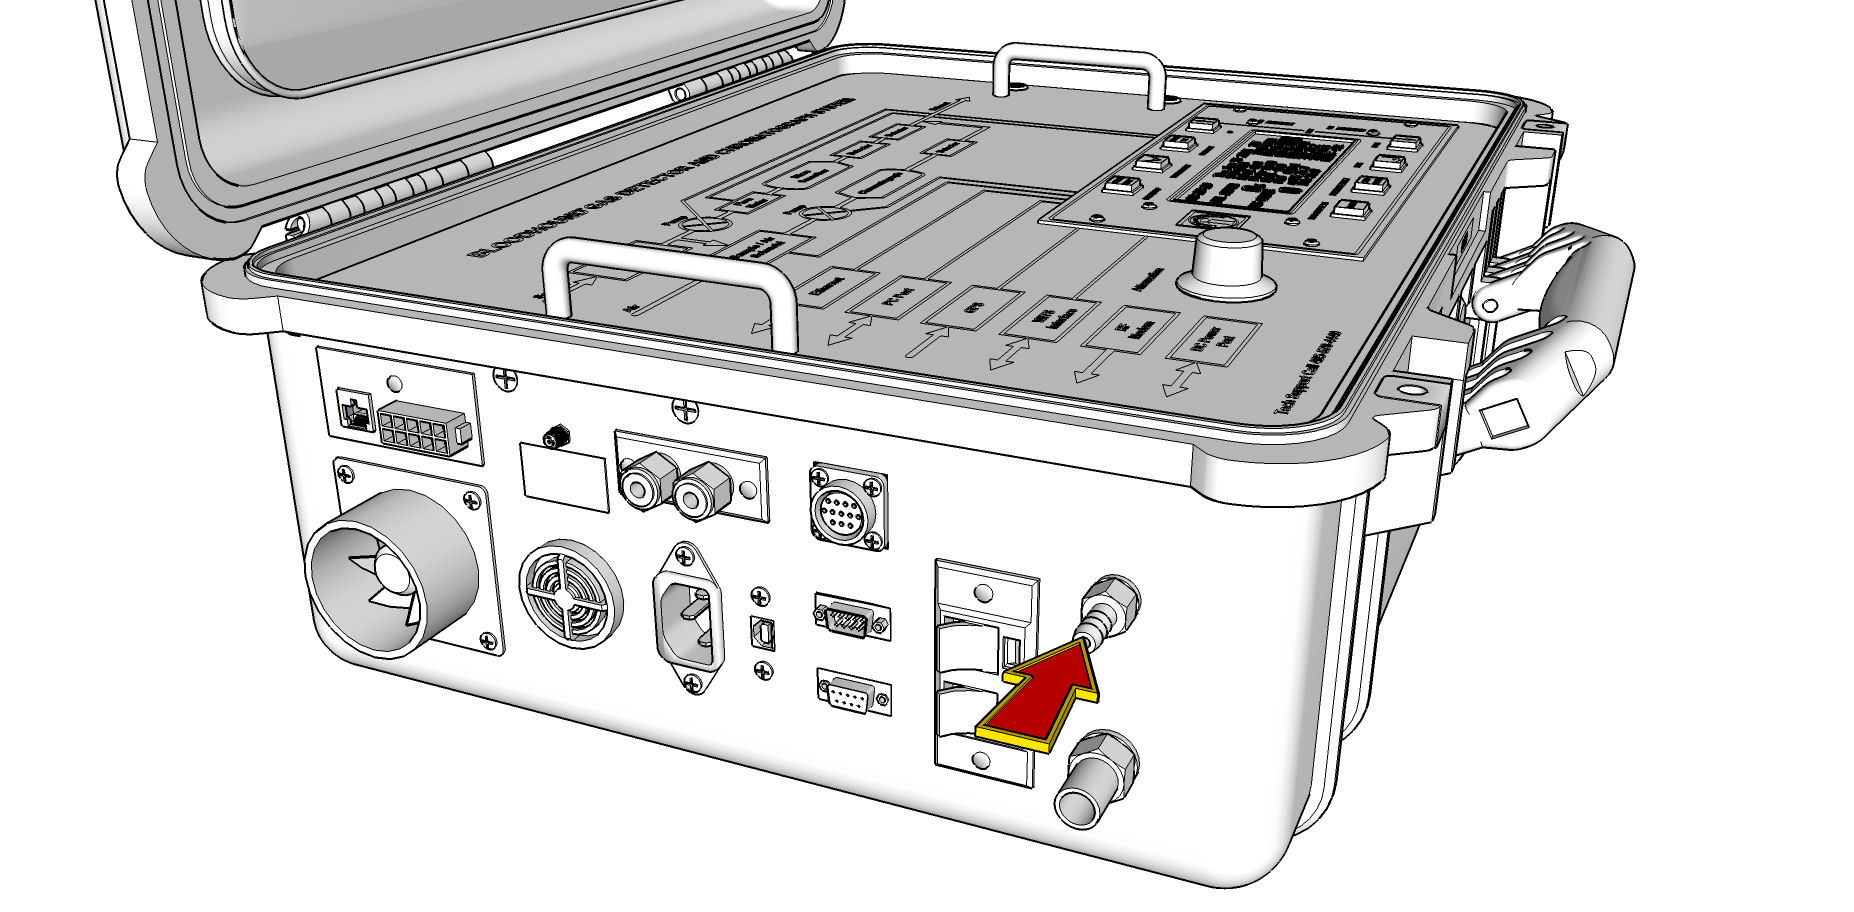
3) SAMPLE INLET CONNECTION: Now that you have your line run, and your inlet filter on the end of the line, you can plug the sample inlet into the 1/4″ brass barb as indicated in the figure below:

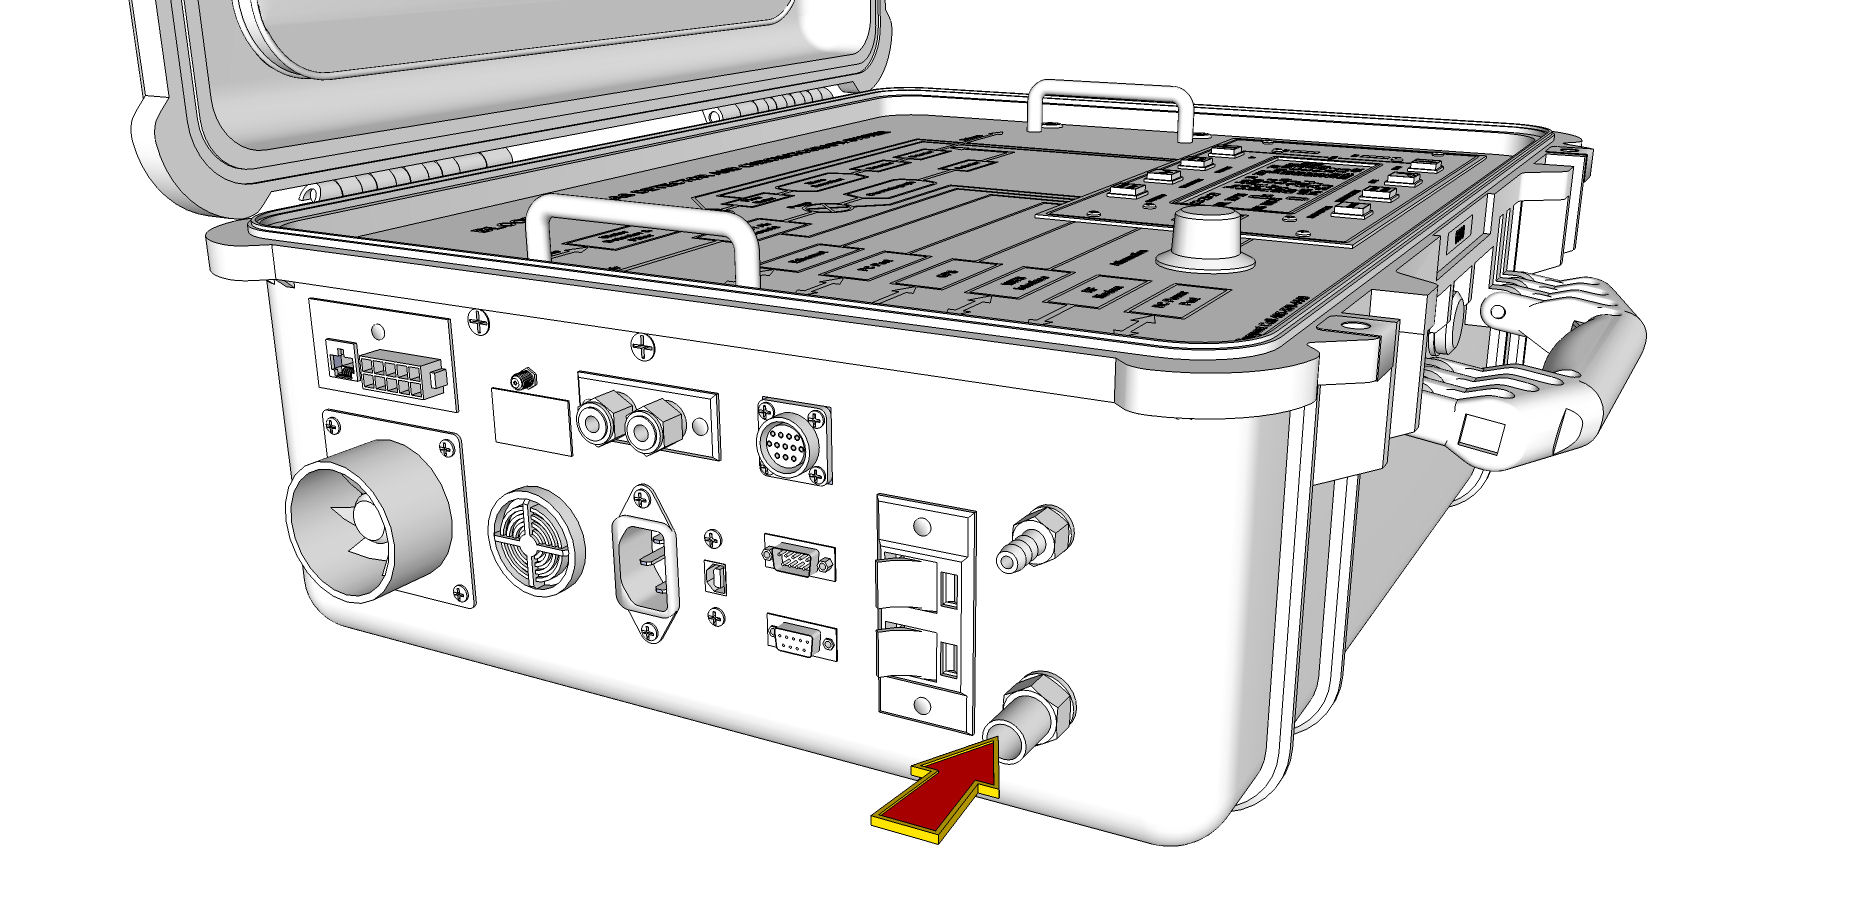
4) EXHAUST OUTLET: The large-diameter of the Exhaust outlet is to help avoid icing up of the exhaust line. Plumb your exhaust line with a single-run of 3/4″ tubing and run it well outside of the trailer. See the figure below for the location of the exhaust connector:

Congratulations! That is how you connect the inlet and outlet to the Bloodhound!